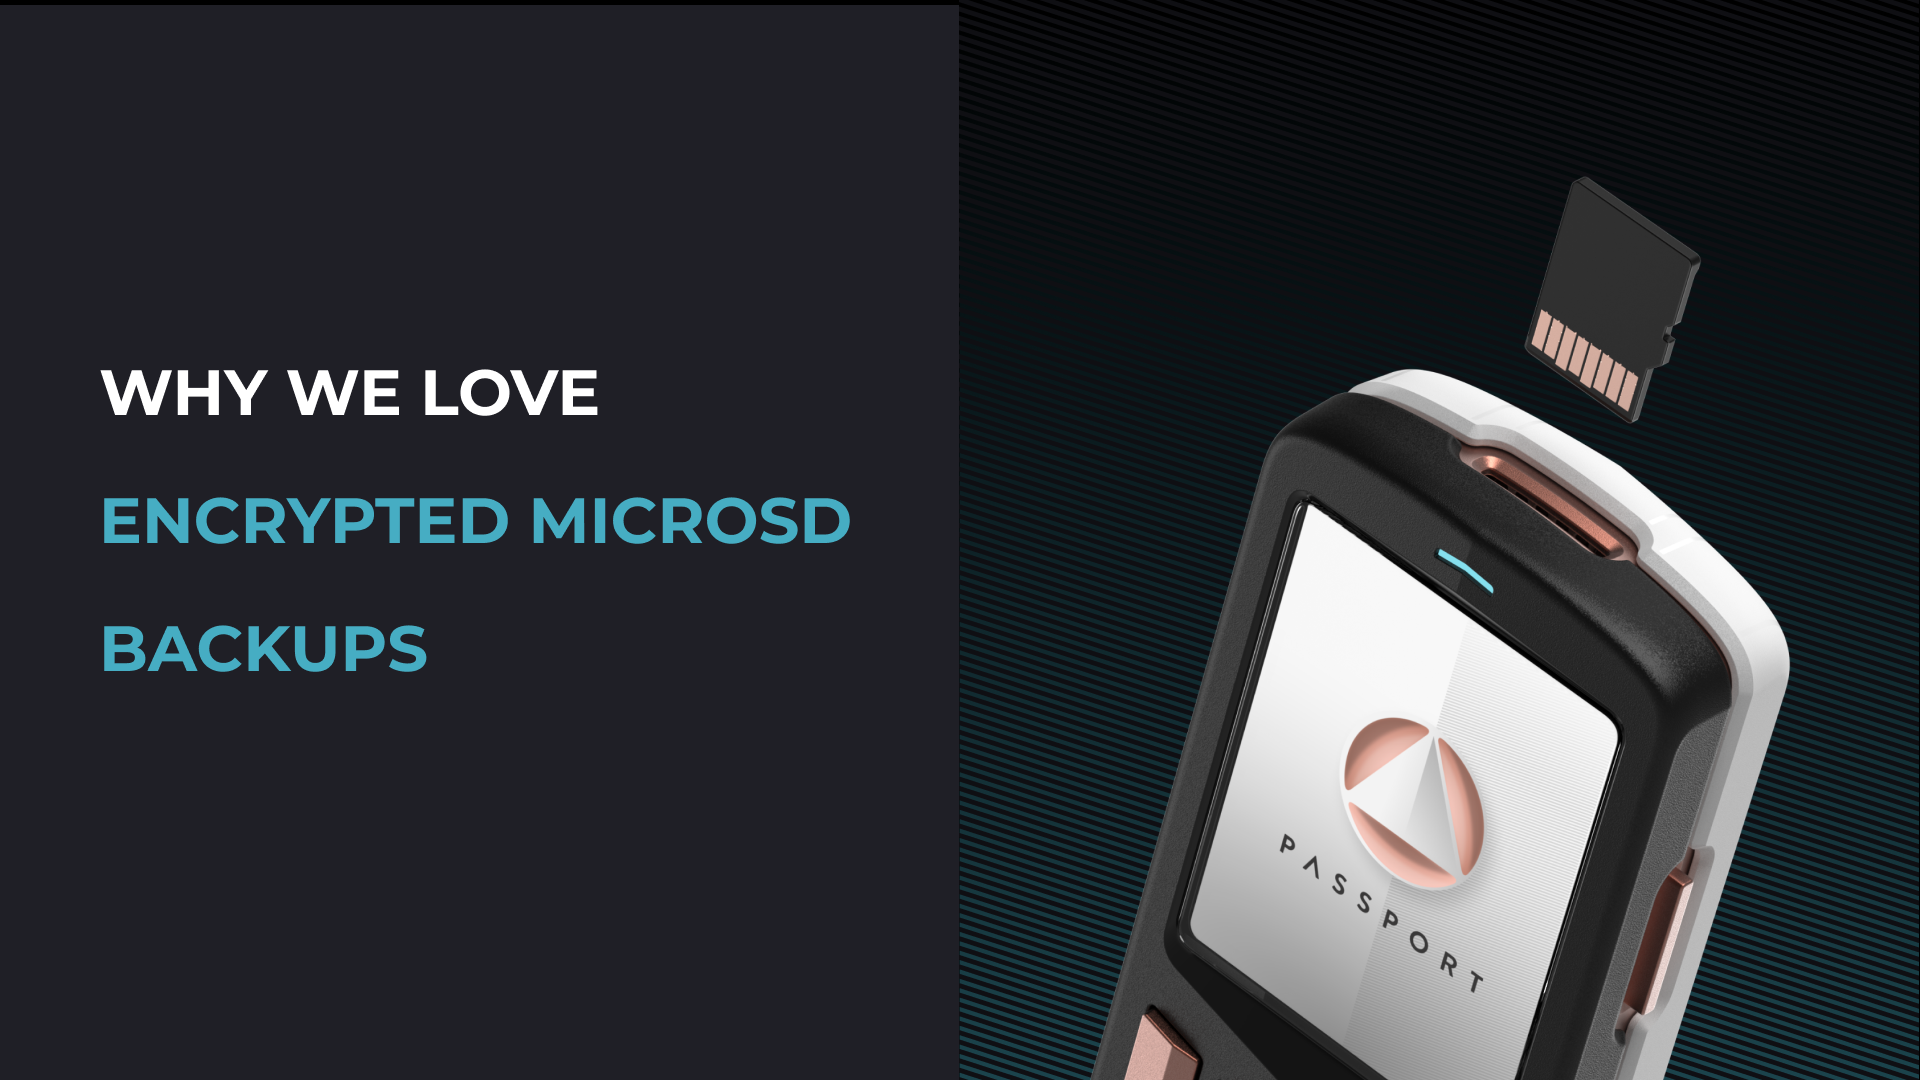
The Bitcoin hardware wallet you already know how to use.
A 1-hour private onboarding session for your Passport.
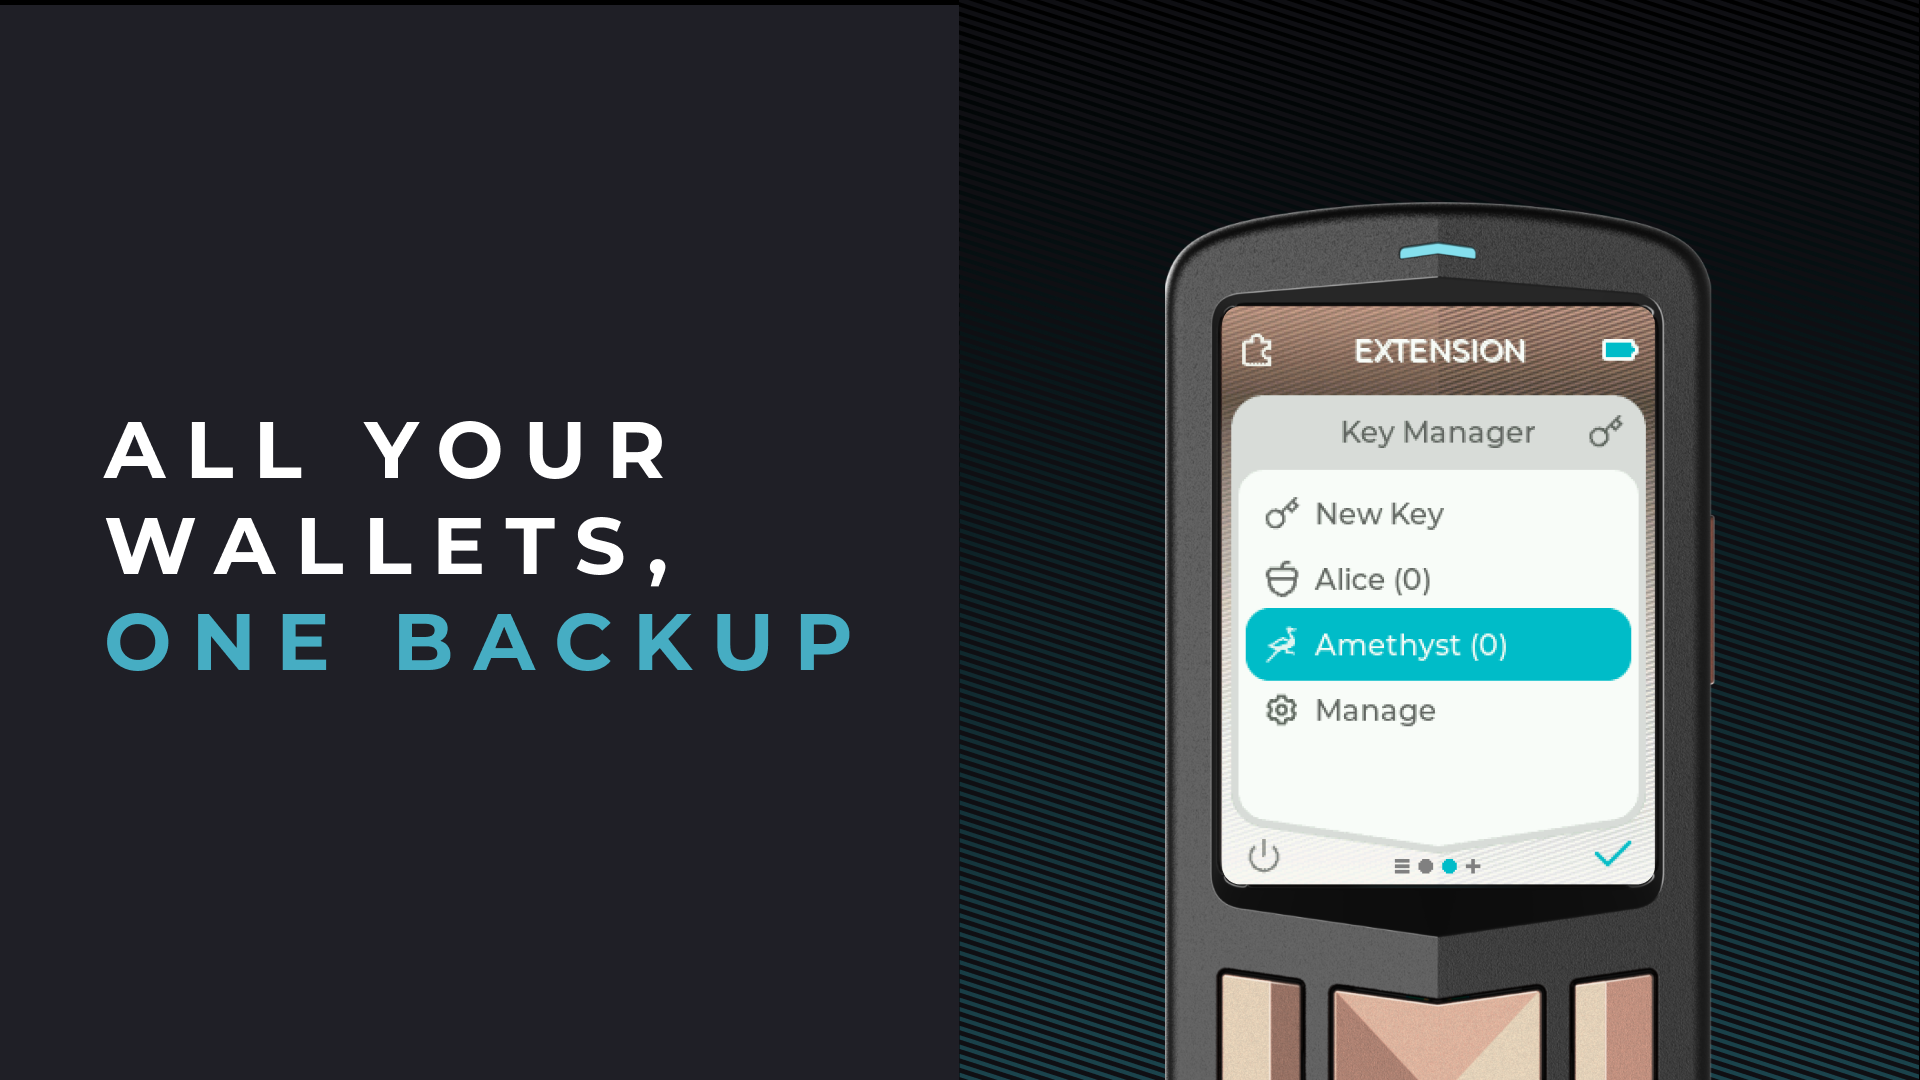
A simple Bitcoin mobile wallet with powerful privacy features.
Return to shop
Continue your self custody journey by signing up for tips, product updates, and company news.